Apple Pay Card Setup Guide
Step 1: Open the Wallet App
- Locate the Wallet app on your device.
- Open the app.
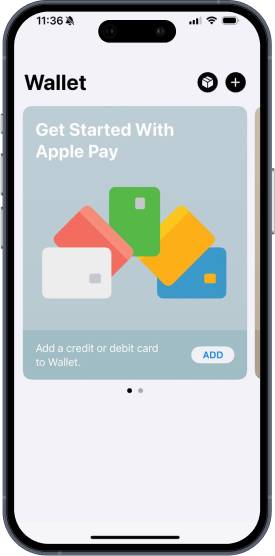
Step 2: Add a Card
-
In the Wallet app, tap the + button in the top right corner of the screen.
 -
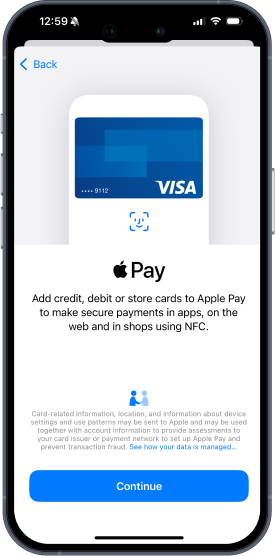
Select Debit or Credit Card.
-
A menu will appear for adding the card. Tap Continue.
Step 3: Scan the Card
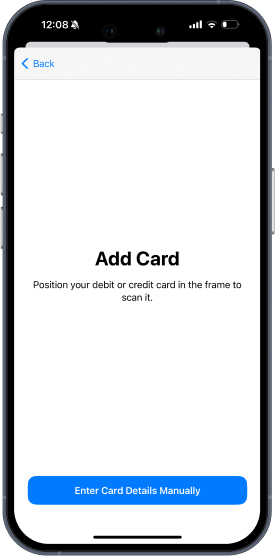
- Use the camera to scan your card. Ensure the camera captures all the details on the card.
-
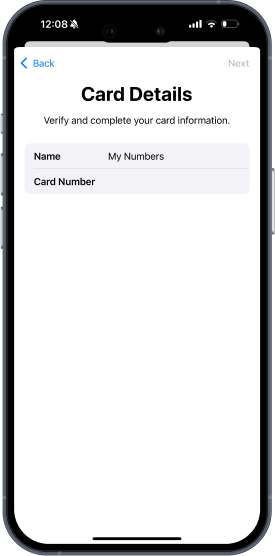
If automatic scanning fails, manually enter the card details (card number, expiration date, and security code).
-
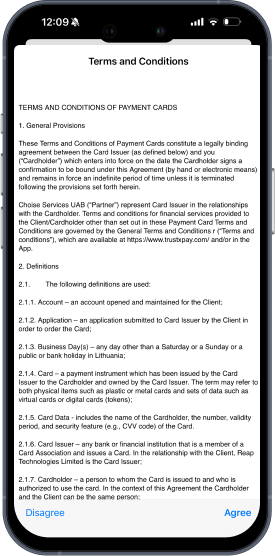
After entering all the data, you will need to accept the Terms.
Step 4: Verify the Card
- After entering the card details, tap Next.
- To complete the card addition, you'll need to verify your identity. Depending on the bank or card issuer, this may involve:
- An SMS code
- An email code
- Biometric authentication (e.g., via Face ID or Touch ID)
- Follow the on-screen instructions to complete the verification.
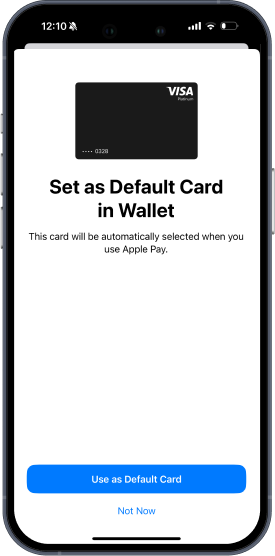
Step 5: Complete the Setup
-
Once the card is successfully verified, it will be added to your Wallet.
-
If necessary, you can set this card as the default for use with Apple Pay.
Step 6: Use the Card with Apple Pay
- To make a payment with Apple Pay, double-tap the Home button or the power button on your device, select the card, and confirm the payment using Face ID, Touch ID, or your passcode.
Updated 9 months ago