SUMSUB KYC Guide
Accomplishing KYC is a mandatory process after registraion. Without that end-users will be restrained from using APP functionality.
Step 1: Registration and Initiating the Verification
Description: To begin the verification process, call this endpoint to obtain an access token to launch the SUMSUB SDK.
API Endpoint: Create Verification
Request Parameters:
type: SUMSUB
For more details, check the SUMSUB Web SDK documentation and Mobile SDK documentation.
You can also customize the SDK's appearance. For mobile devices, you can adjust the colors directly in the SDK:
- iOS: Customization Guide
- Android: Customization Guide
Alternative Mobile SDKs: Customization Guide
- For the web version, we recommend using
customizationName = Vaultas an attribute in thewithConfparameter. More info here: Web SDK Integration
Once the SDK is launched, the verification process begins.
Step 2: Verification Process
You can choose to complete the verification on your current device or switch to your mobile phone at any time.
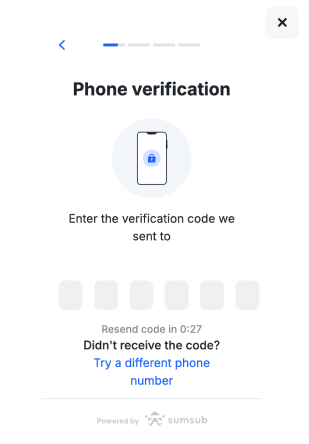
Step 2.1: Phone Verification
- Enter your phone number: You will receive a verification code via SMS.
- Verify the code: Input the received code to confirm your phone number.

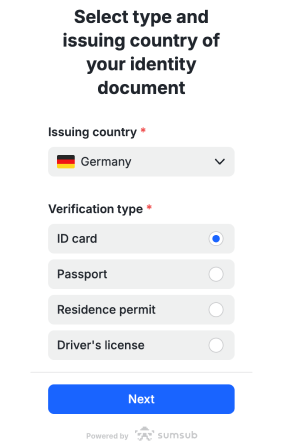
Step 2.2: Provide Identity Document
- Select the issuing country and type of your identity document.
- Upload your document: Ensure the document is:
- Scanned in a well-lit environment.
- Free of reflections.
- Not edited in any way.
Allow Camera Access
To upload a photo of your document, your browser must request permission to use your camera.
- Grant Permission: Click the "Allow" button when prompted by your browser (usually in the upper-left corner). For mobile devices, you’ll be asked to allow camera access directly.

Step 2.3: Perform a Liveness Check
- Prepare your camera: Ensure your face is clearly visible in the frame.
- Position yourself in a well-lit area: Lighting is key to passing this step.
- Avoid covering your face: No hats, glasses, or masks.
Allow Camera Access
As with the previous steps, ensure your browser has permission to access your camera.
Step 2.4: Answer Additional Questions
- Provide personal details such as:
- Full name, nationality, date, and place of birth.
- Job title/profession and business activity.
- Tax residency and Tax Identification Number (TIN).
- Political exposure status (PEP).
- Economic background and business relationship information.
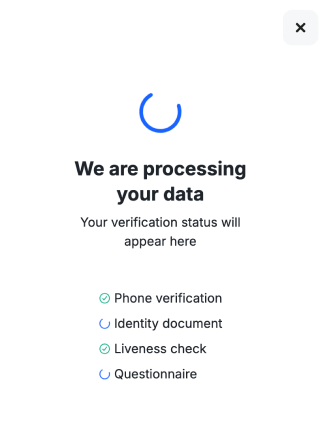
Step 3: Verification Completion
Once all the steps are completed, the verification process will be finalized.
- Approval or Rejection: Your documents will either be approved or rejected. If rejected, you can resubmit your documents after correcting any issues.

Updated 7 months ago
